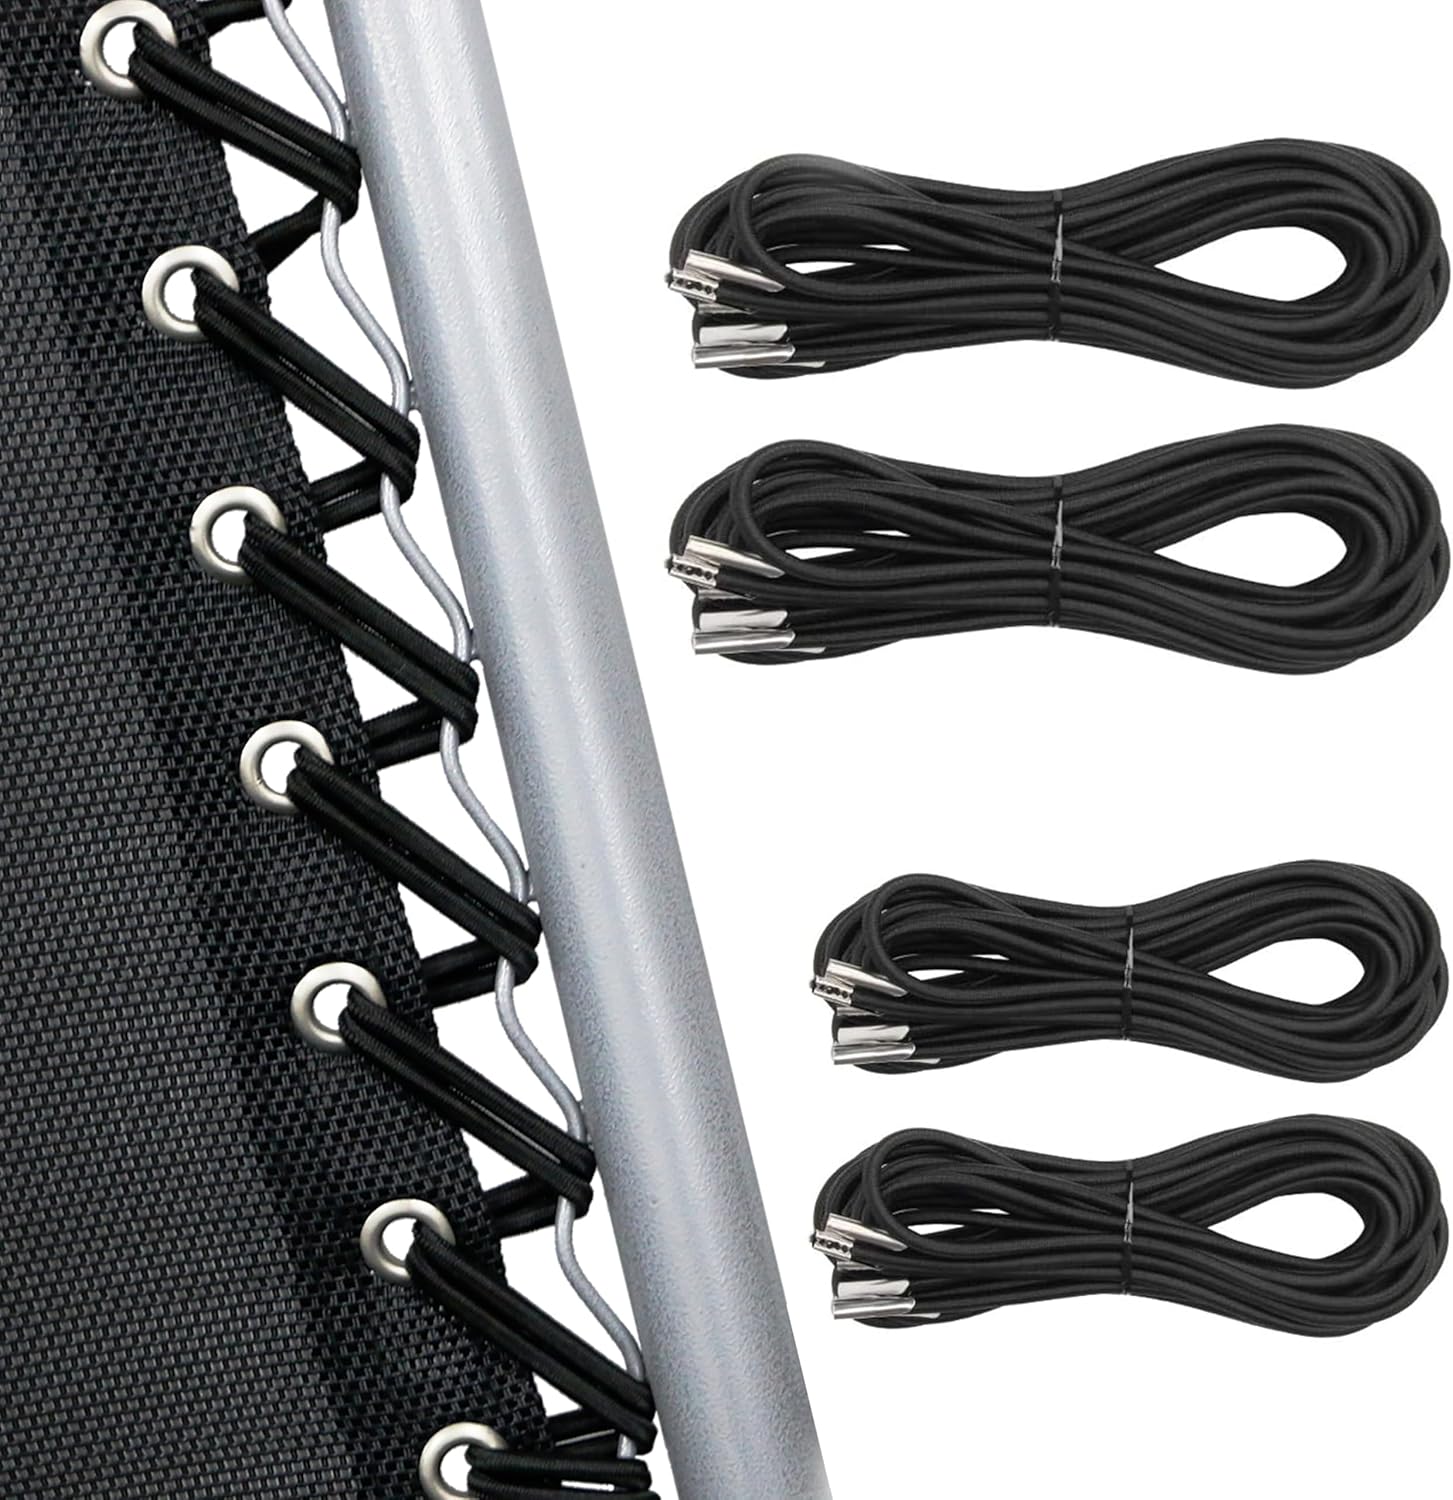
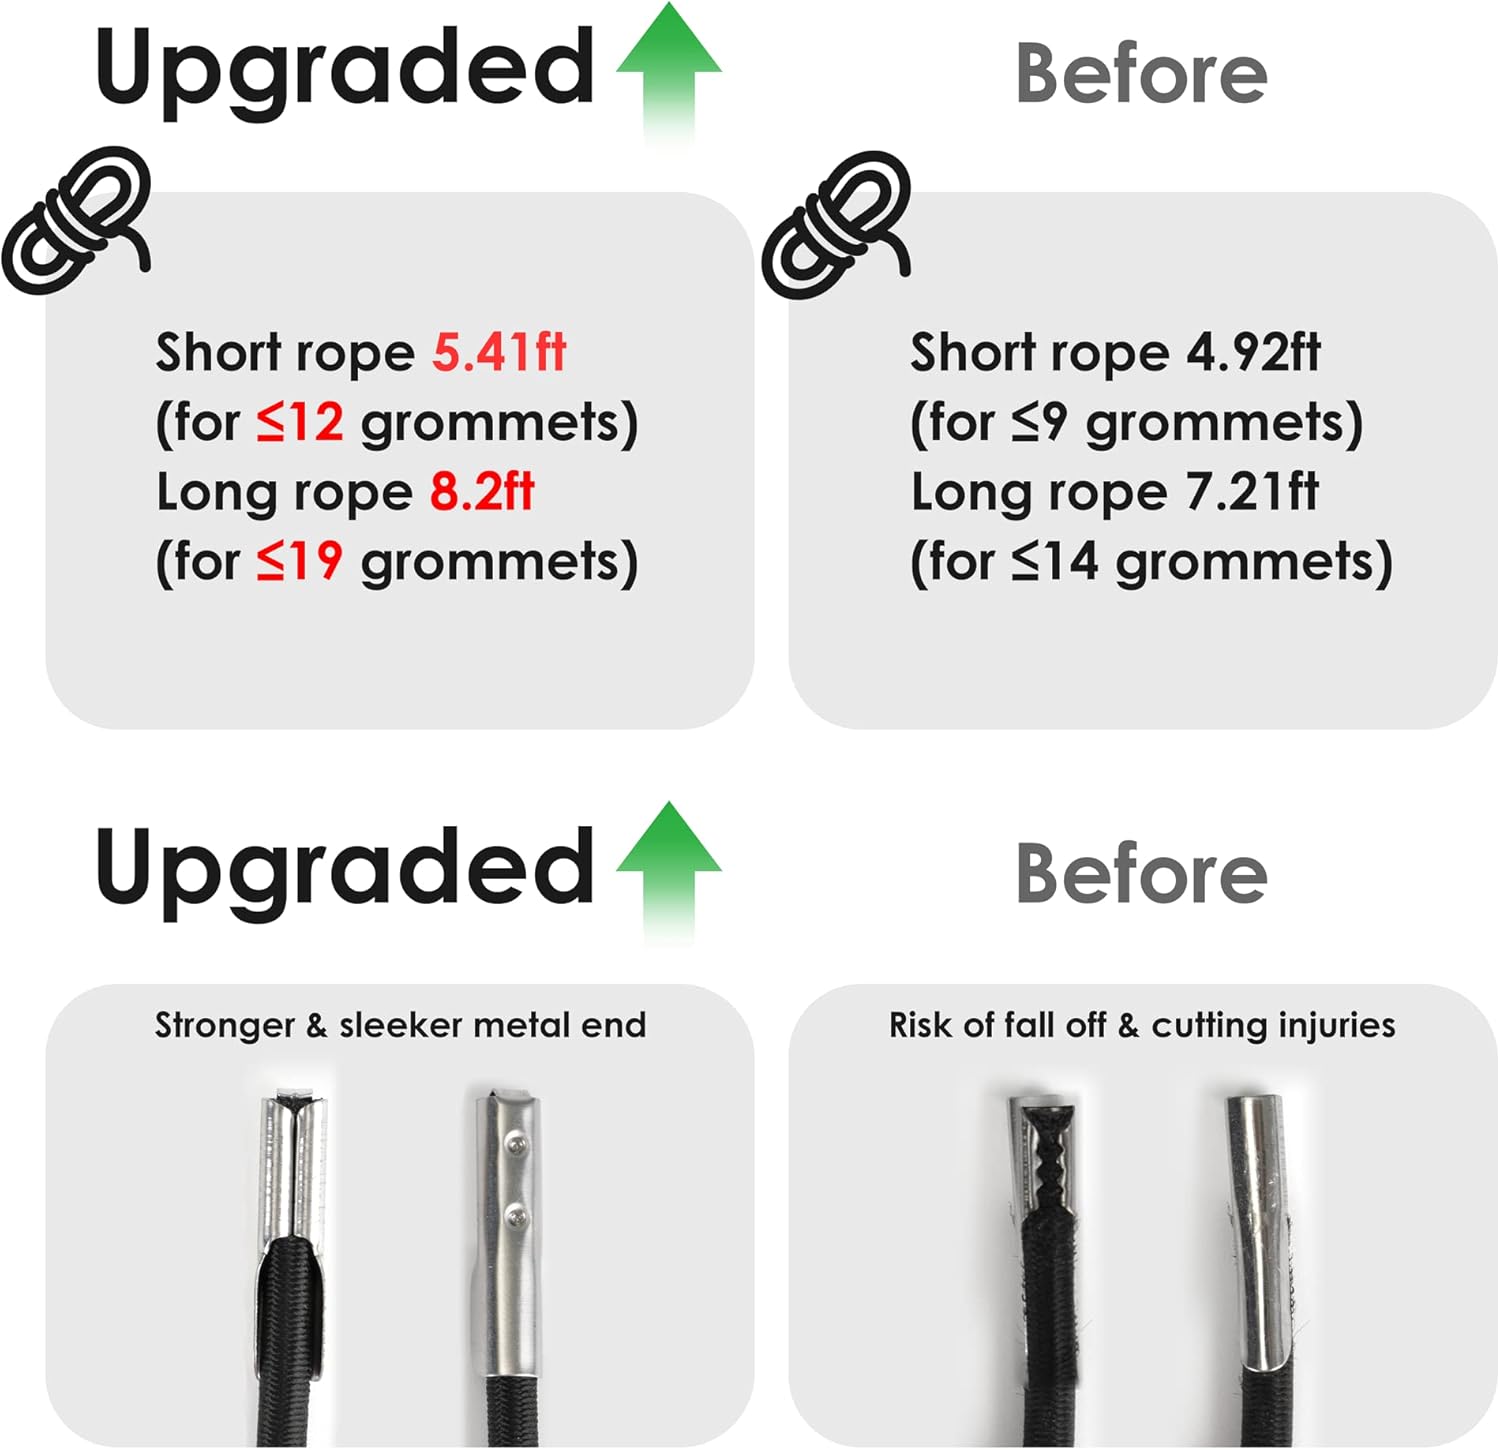
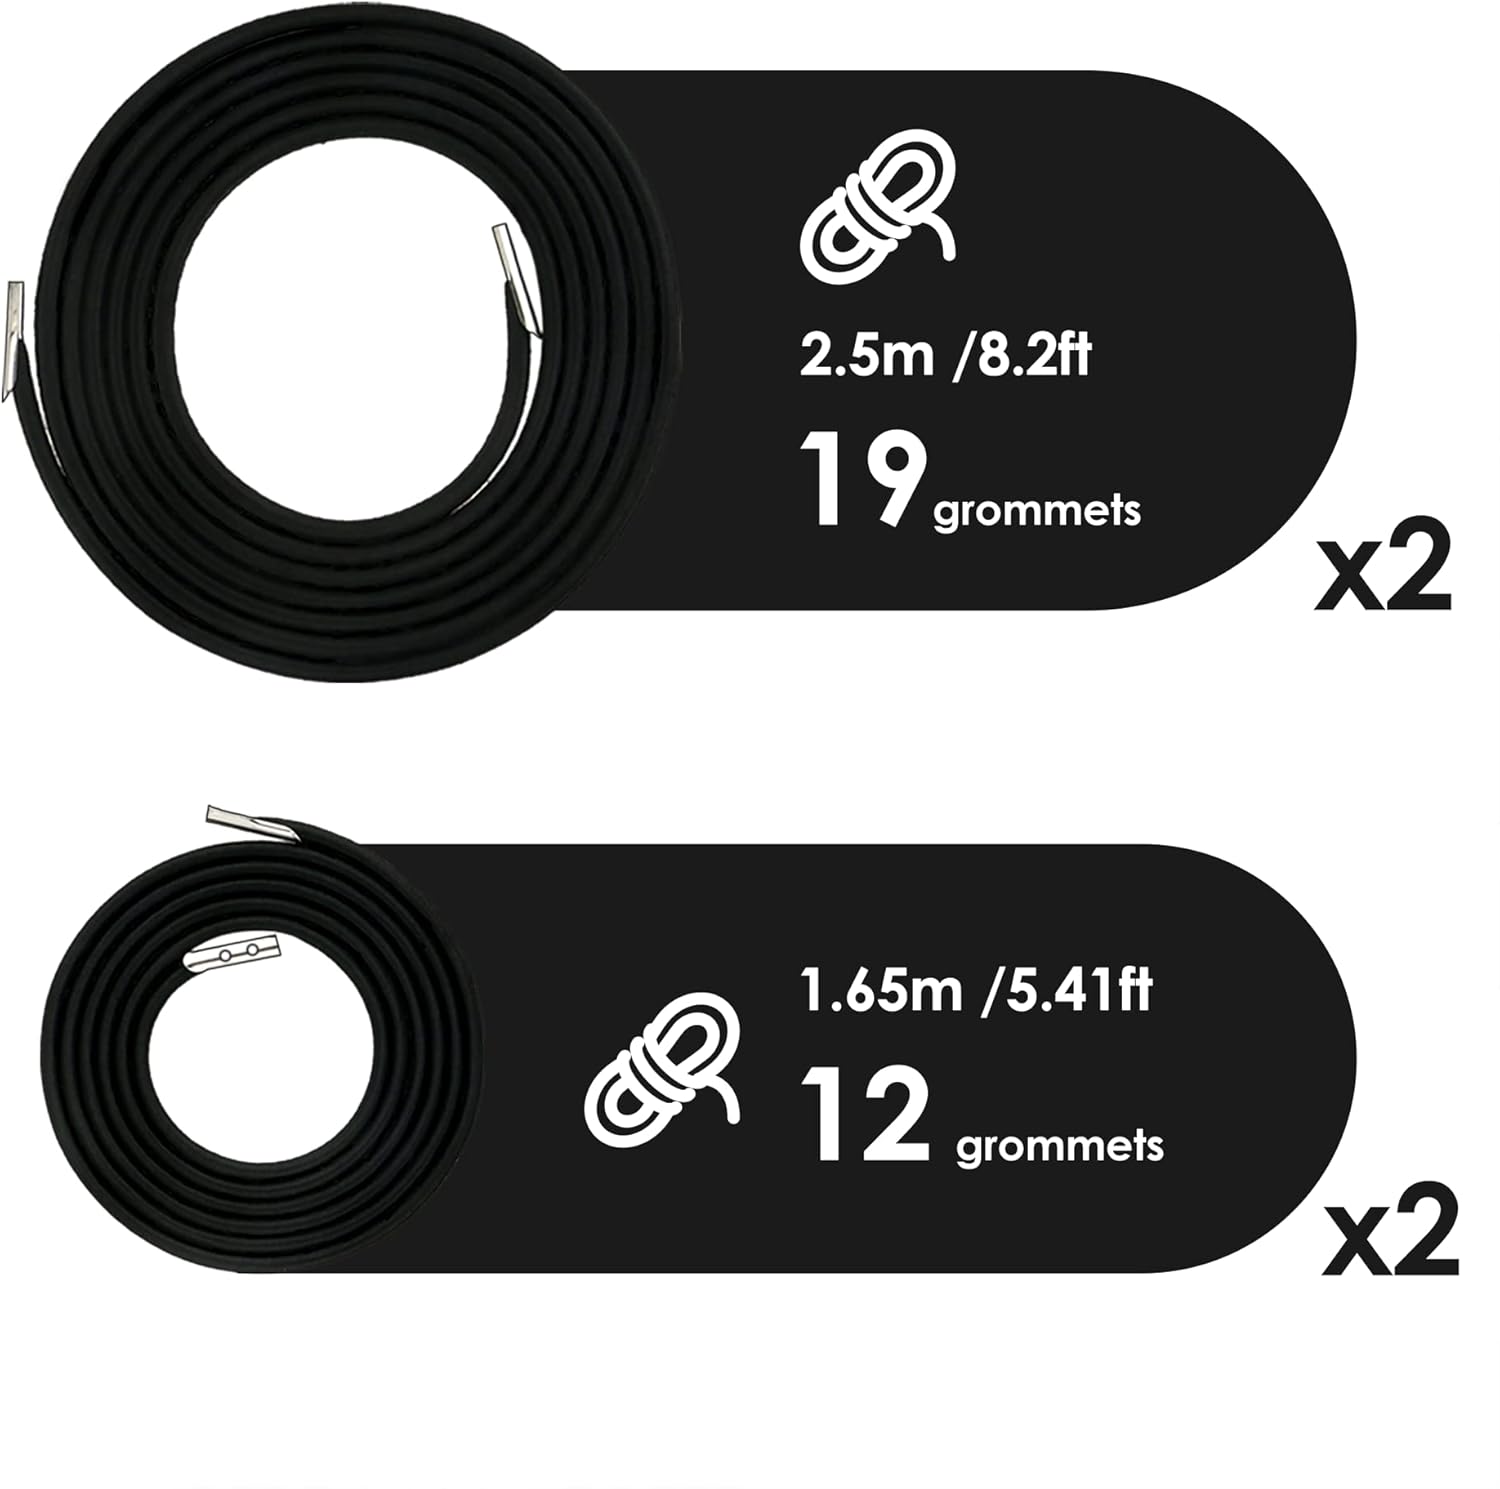
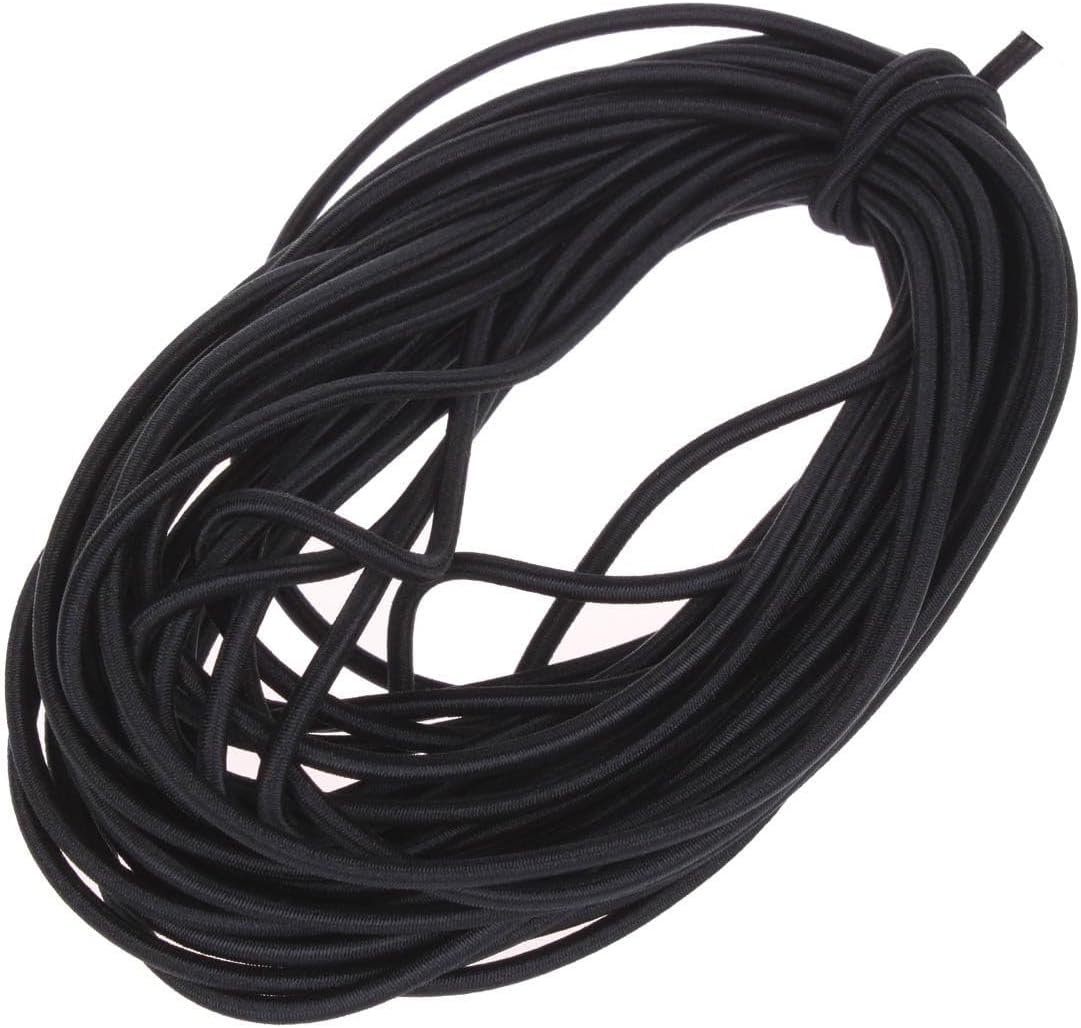
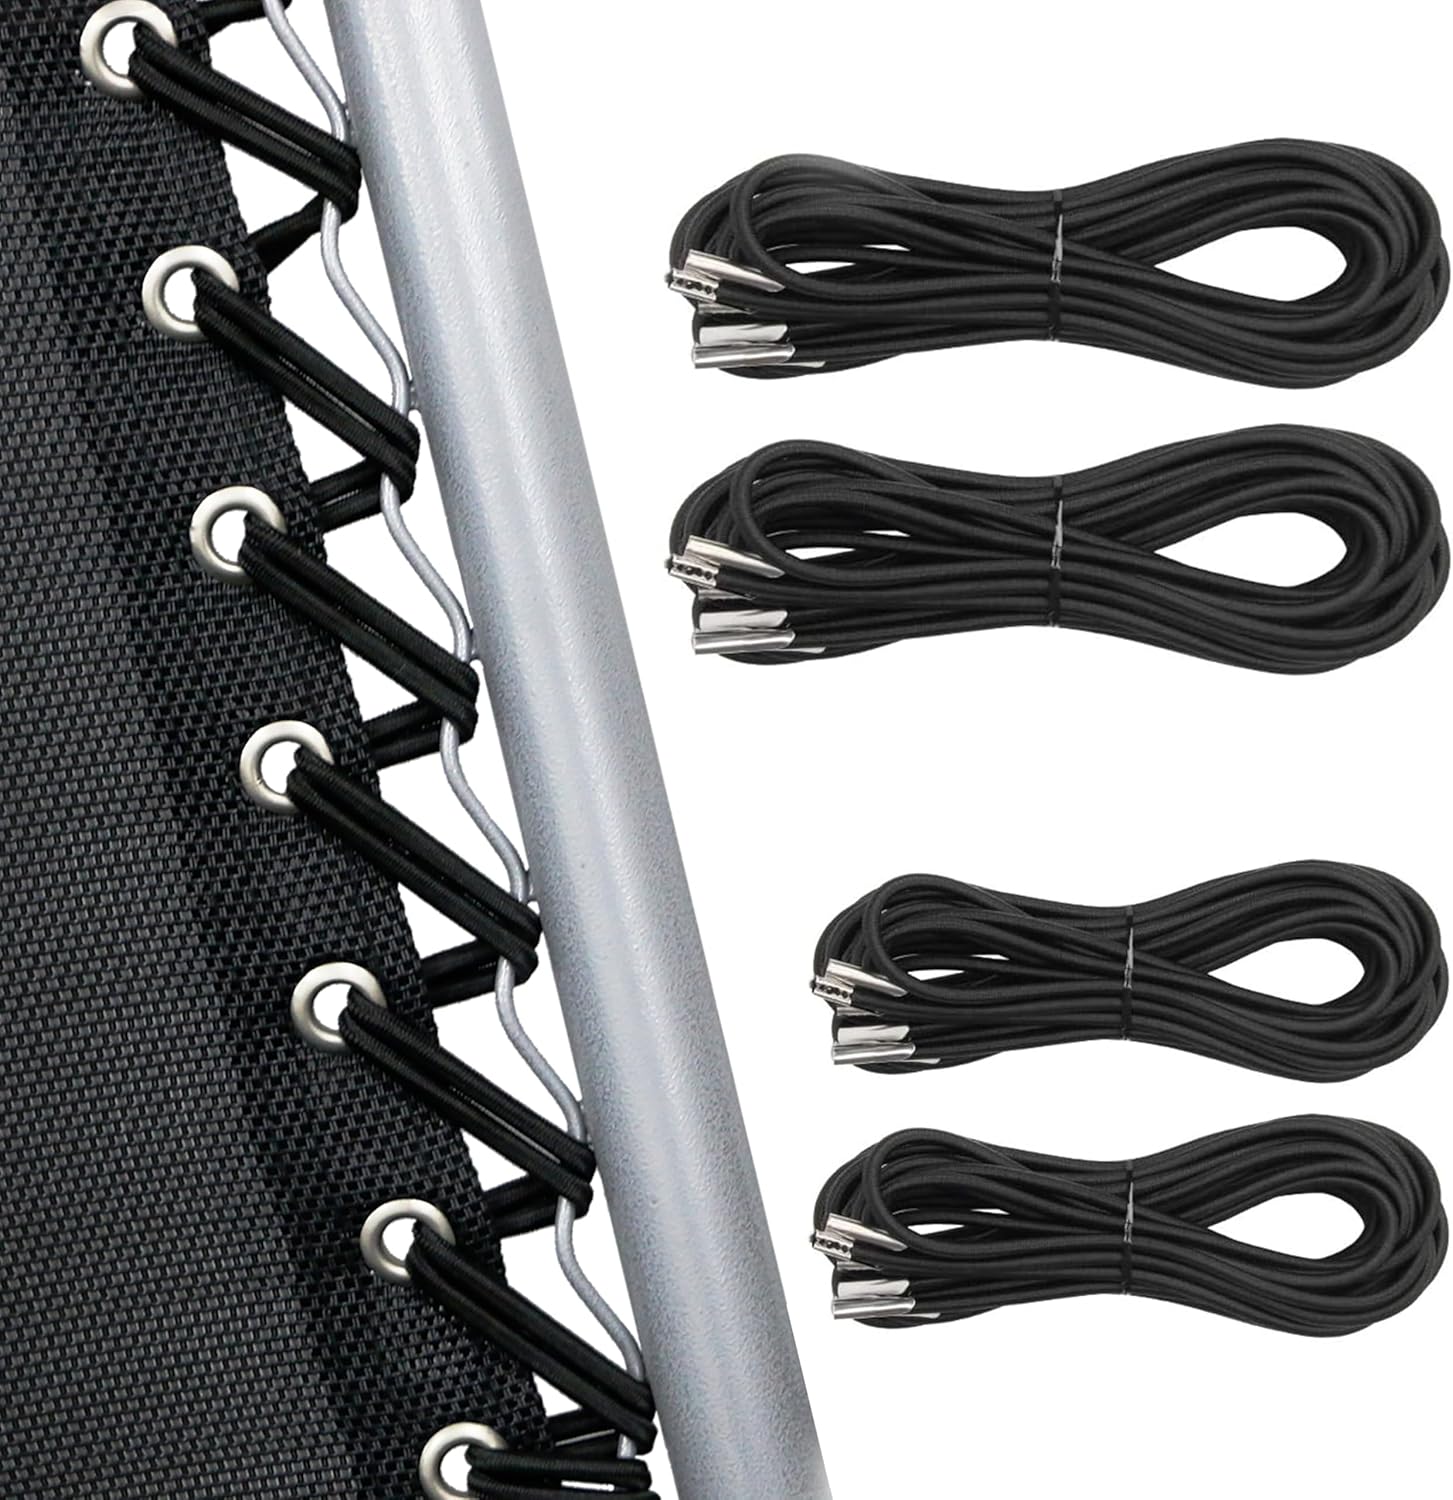
UNEEDE 4 Cords Zero Gravity Chair Replacement Cord, Antigravity Chair Replacement,Universal Repair Cord Kit for Repairing Zero Gravity Chair(Black)
$ 2.99
I had a set of zero gravity chairs from Costco that I ordered in 2018. They were used outdoors year round in Florida and by 2021 the elastic was failing, particularly in the seat area of the chairs. I did some research and settled on this elastic repair kit. These kits do work and are probably the right size for most chairs, but it is a real chore to actually install the new elastic. I completed the first chair in winter of 2021, started the second chair, and disliked doing it so much I put off finishing it for months. I finally completed the task a few days ago and I’m going to give my tips on how to make the process as easy as possible.First, you absolutely cannot do the job without sturdy zip ties and a good pair of sharp scissors. A second set of hands really helps too. Start with the bottom half of the chair by installing the zip ties tightly on both sides through every other or every third hole. The zip ties have to duplicate the tension of the elastic while you remove and replace the old material. Next cut out the old elastic on just one side of the chair, being careful not to cut the zip ties. If you cut out the elastic without securing the seat with zip ties first, you will never get the seat tight enough to accommodate the new elastic, which won’t be stretched and loose like the old material. Once the old elastic is removed on one side thread the new elastic in by copying the pattern from the opposite side you haven’t removed yet. From the very first hole, you must pull the elastic tightly, and keep the tight tension the entire length of the elastic as you work. If you don’t, you will run out of length and the elastic won’t be long enough to complete the bottom half. The first time I didn’t pull it tight enough so I had to start over. People who say it isn’t long enough probably aren’t pulling it tight enough. And this is where assistance helps tremendously. I found it very difficult to keep the elastic stretched, and thread it over and under the holes and chair on my own. My assistant would grab it from above and pull up while I made sure the strands were lined up and tight, and then they would feed it down to me so I could grab it under the chair. It’s an awkward process. They also helped me make sure I was matching the pattern and not missing any holes or pattern repeats. Also, do not stretch or keep tension on the elastic by pulling the metal ends, they can come off. I did that and had to re-attach an old metal end from the old elastic. My hands also got very tired, so my assistant would hold the cord for me occasionally for a break. Once you get to the end of the section carefully feed the metal end through the last hole and flip the end to hold it in place. Now you can carefully cut out and remove the zip ties on that side, making sure not to knick or cut any of the new elastic, and adjust any tension as necessary. Repeat on the opposite side, then use the same process for the top half of the chair. The top was a little easier than the bottom. For some reason I had a little more slack in the top elastic and the chair itself doesn’t get in the way of what you are doing.You can see my photos for the final results. The cat photo has a slight variation on the very bottom threading on the right. I skipped the first hole to try giving myself a little extra slack in the elastic. That was the first chair I did and was still learning exactly how hard I needed to pull and stretch the elastic, and was questioning whether it was long enough. Skipping that didn’t really make a difference. These chairs and elastic are supposed to be able to hold a certain amount of weight, your maximum hand strength isn’t more than that, so just stretch and pull and it will work fine. I’m just so glad I don’t have to do this again anytime soon!!! Many thanks to my assistant as well, couldn’t have done it without you!!!